Sourdough Starter
This post may contain affiliate links.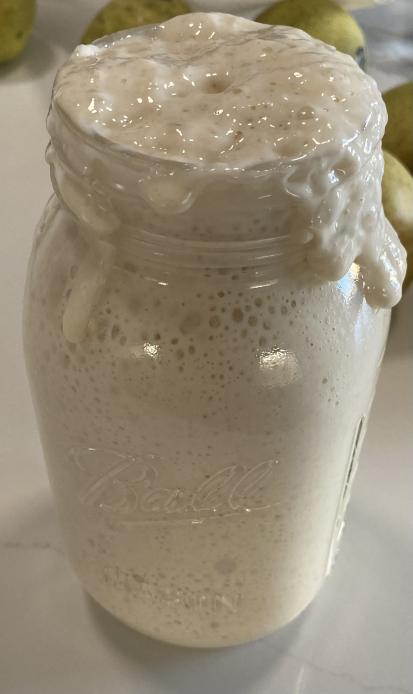
Making a sourdough starter can feel like a daunting task, but it is worth the pain! The starter is the first lesson of patience that comes with all things sourdough.
Tools
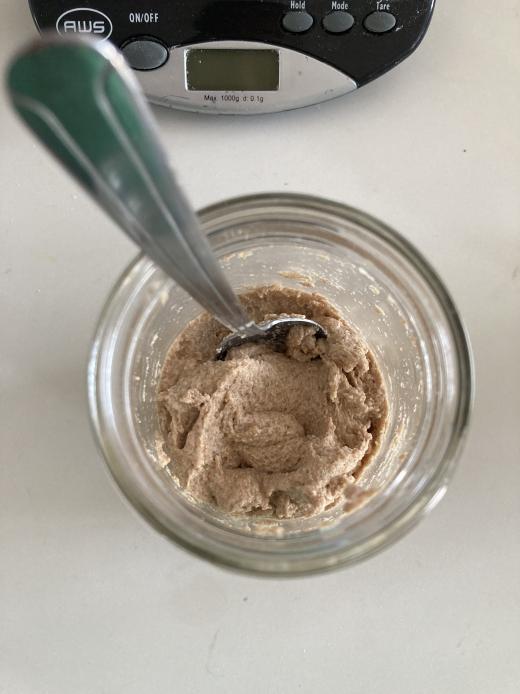
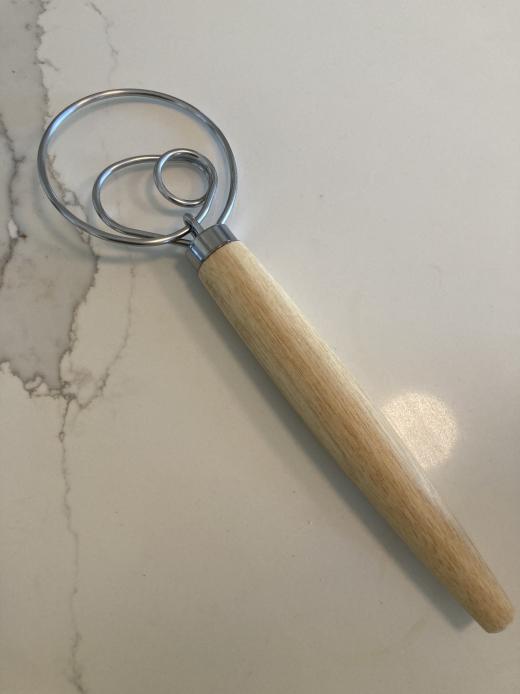
You will need a scale that measures grams. Glass jar with lid. Something to stir with, I use a danish whisk or spoon.
How Long
I have heard that some people get theirs started in 6 days, but to be honest I can’t believe it. My main starter took a whopping 18 days! I thought it would never rise, but it did with some crucial troubleshooting steps and days of research.
Feedings
Your starter is a living thing that needs to be fed and cared for. Once your starter is really going, you shouldn’t let it miss a feeding pass 12 hours. Based on the temperature of your home and time of year the ideal time to feed varies. My general feeding amount is 70g all-purpose flour, 10g rye, 80g filtered water, 80g starter. Throw any remaining starter away (discard). This is called a 100% hydration starter which means there are equal parts flour and water.
The water needs to be fitlered. Tap water has chlorine that doesn’t mix well with yeast and will prevent the starter from growing good bateria called lactobacilli.
If you aren’t going to make bread for awhile, put it in the fridge straight after feeding. When you are ready to bake, set it out on the counter until it bubbles and warms up and then continue feeding until it is doubling in size at peak.
Common Questions
What is this liquid on the top layer of my starter?
This is called hooch and means that your starter is VERY hungry and needs to be fed. You can stir it in (I always do) for more flavor or pour it off.
If you see any mold, you need to throw your starter away and start over. This is most likely to happen in the beginning stages while good bacteria is trying to take over the bad. Make sure you are changing the jar each feeding.
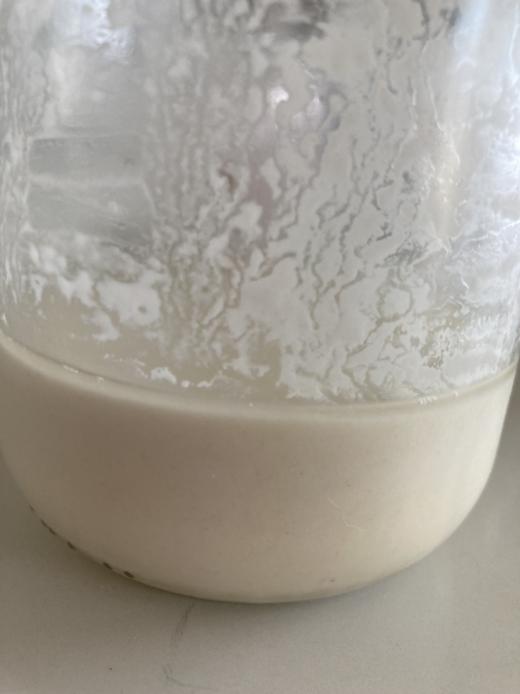
I saw a lot of bubbles on the second or third day but now nothing is happening
This is normal, just keep going! The bad bateria creating gas has stopped and the yeast growth is just beginning.
Why does it smell like nail polish?
Again, this is normal in the beginning. It means the starter is hungry and needs to fed. After feedings, it should smell more fruity and yeasty.
I stirred my starter with a metal spoon, will it die?
This will not kill your starter. You can use stainless steel, wood, plastic, or silicone. Stay away from reactive metals like copper.
How do I know when my starter is ready to make bread?
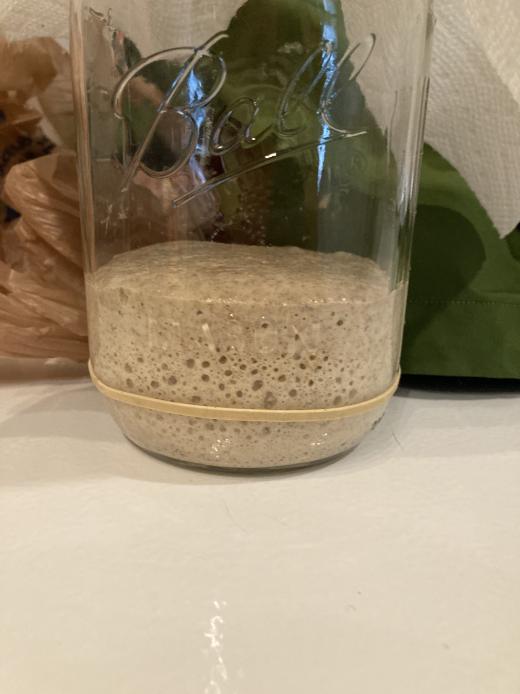
It needs to at least double in size after feedings. If it can’t rise itself, it isn’t going to be able to rise dough. I like to put a rubber band around the jar or mark the outside. At its peak, it should have a dome shape right before it slips down the sides of the jar. This is the optimal time to use your starter.
Try the float test. Take a spoonful of starter into a cup of water and see if it floats. If it does you are good to bake!
| Top | Side |
|---|---|
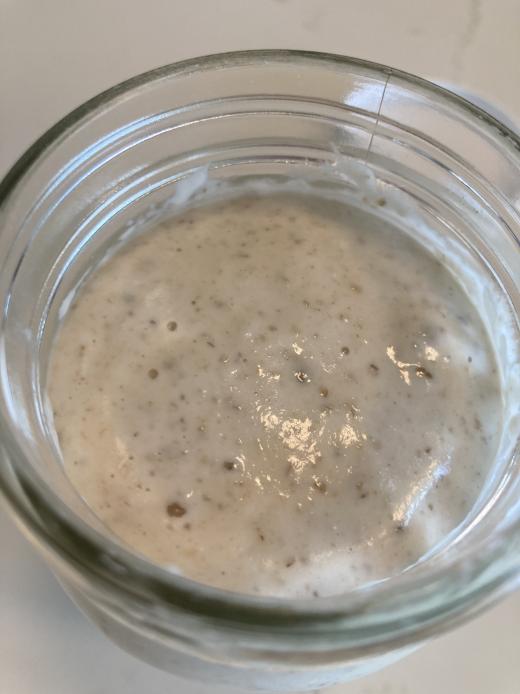 |
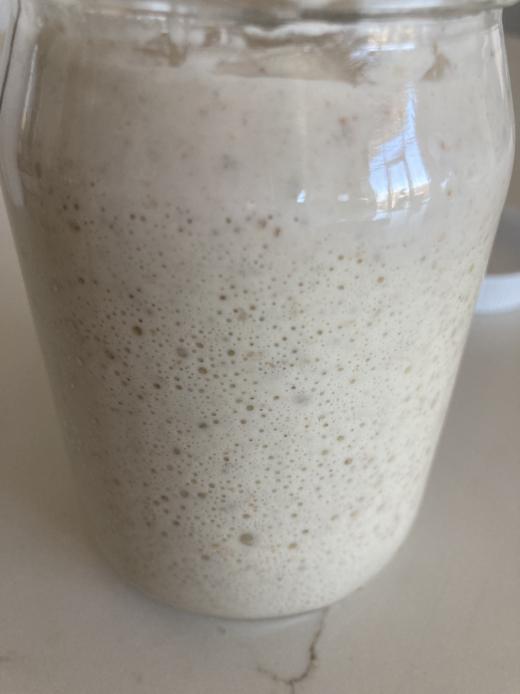 |
Do I have to add the rye?
You don’t have to, I find that it adds flavor and really helps with fermentation because it has more nutrients than other flours. You can transition your rye starter to an all white starter by feeding with all-purpose flour only. Give it a few feedings to adjust. I use a rye starter for classic sourdough breads and white starter for pastries like croissants.
Common Issues
-
You are messing with your starter too much. Sometimes it just needs to be left alone to do its thing. It is a journey not a race.
-
Your house it too cold. Especially for the first few days it needs to be really warm. Once you go to normal daily feedings anywhere from 68-73 degrees is the ideal termperature.
Troubleshooting Tips
If you are at day 10 and just not seeing anything, then it is time to give your starter a little help.
Tip #1:
Try switching up the flour. Make sure you are using unbleached and preferrably organic flour. Organic flour has more minerals in it that your starter can absorb.
Tip #2:
Put your starter in the oven with the light bulb on for 10 mins and then turn it off. Your ideal temperature is 80 degrees. DO NOT turn on your oven, this will most certainly kill your starter. Keep your starter in there for 12 hours. After this time check for any bubbles or any rise. If you don’t see anything, stir it and put it back in for 12 hours. Stirring can reinvigorate it and add some oxygen to help boost the bubbles.
Tip #3:
Add pineapple juice instead of water in your next feeding. Pineapple juice is the right acidity and prevents bad bacteria from growing.
- 240 g sourdough starter
- 15 minutes
- 6 - 25 days (be patient!)
Ingredients
- 80 g organic whole wheat flour (one feeding)
- 80 g filtered water (per feeding)
- 70 g organic all-purpose flour (per feeding)
- 10 g organic dark rye flour (per feeding)
Directions
- Day 1: Measure and stir 80 g whole wheat flour and 80 g filter water in a glass jar. Cover with lid loosely and let sit in warm area of kitchen (80 degress) for 24 hours. It will be very thick.
- Day 2: After 24 hours, check for bubbles. You should see some small ones form on the top and it should smell like vinegar or nail polish. Get a clean jar and combine 80g starter, 80g water, 70g all-purpose, and 10g rye. Discard remaining starter and let sit with lid for 24 hours.
- Day 3: You may see some rise and bubbles, if not it’s still fermenting. Get a clean jar and combine 80g starter, 80g water, 70g all-purpose, and 10g rye. Let sit on counter for 12 hours. Discard any remaining starter. 12 hours later repeat this step. Feeding in the morning and evening works the best. The consistency should be like peanut butter.
- Day 4: Repeat Step 3.
- Day 5: You starter should be smelling sweeter and have a rise and bubbles. If you don’t see this, wait another 12 hours to feed otherwise repeat Step 3.
- Day 6+: Repeat Step 3. Your starter should be getting stronger and doubling in size with lots of bubbles. Try the float test and you can begin baking. If this isn’t happening at day 10, take a look at the troubleshooting tips above.
More delicious sourdough recipes
This is one of the many fantastic sourdough recipes available on this blog