Classic Sourdough
This post may contain affiliate links.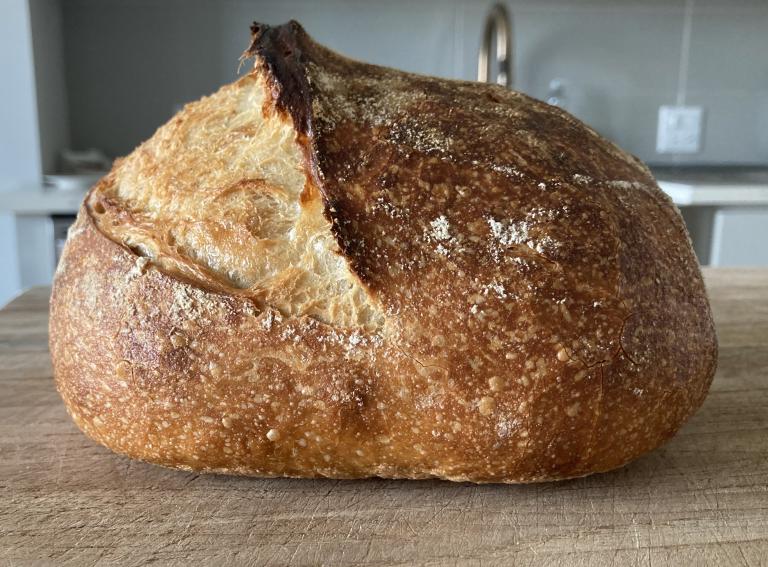
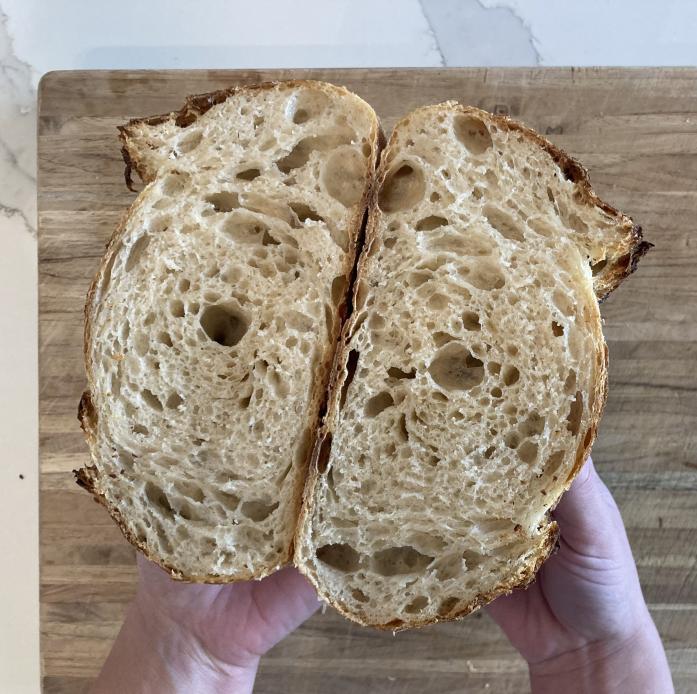
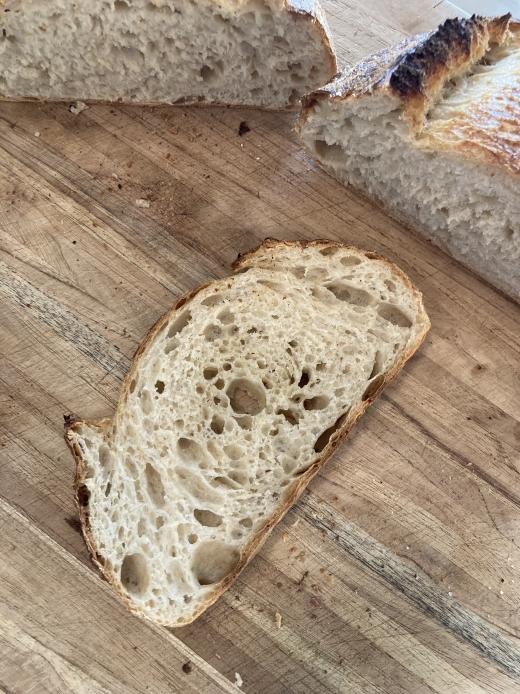
Your go-to classic sourdough loaf. Crunchy, golden crust with soft crumb and so much flavor! Follow this recipe to make your best loaf with a beautiful ear and perfect taste.
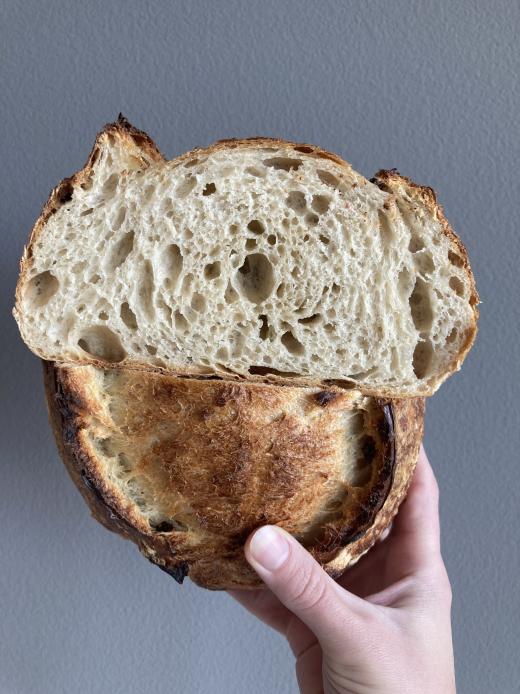
This is a great everyday loaf! I generally prefer a tighter, even crumb which is great for sandwiches and toast. If you desire larger holes, you can add more water to this recipe and make sure you perform all three stretch and folds or try out my high hydration sourdough recipe. This is an intermediate level sourdough bread recipe, if you want a beginner version then start with my overnight beginner sourdough recipe.
Notes
- This recipe has a hydration of 70%. I often increase the water to 75% for a little softer crumb. Anywhere between 300 and 323 grams of water will deliver a good loaf. It will depend on your comfort level and desired crumb.
- If you increase the hydration, your bulk fermentation time is going to be shorter. Check your dough at the 6 hour mark.
- If you are using a Dutch Oven and prefer a darker crust, then keep the oven at 500°F instead of lowering it to 450°F.
What are the timings?
- 8:00 am: feed starter
- 1:00 pm: mix dough
- 1:30 pm: autolyse
- 2:00 pm: stretch and fold
- 2:30 pm: stretch and fold
- 3:00 pm: stretch and fold
- 8:00 pm: shape
- 8:00 am(next day): preheat oven
- 9:00 am: bake
Step by Step Instructions
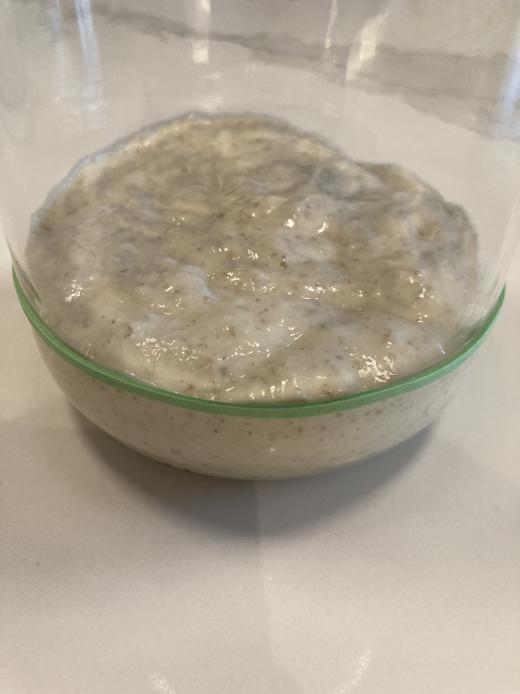
1. Feed your starter
I recommend a 100% hydration starter for this receipe. This means equal parts water, flour, and beginning starter, a 1:1:1 ratio. I feed mine 10g rye, 70g all-purpose, 80g water, 80g starter.
 |
 |
2. Mix your dough
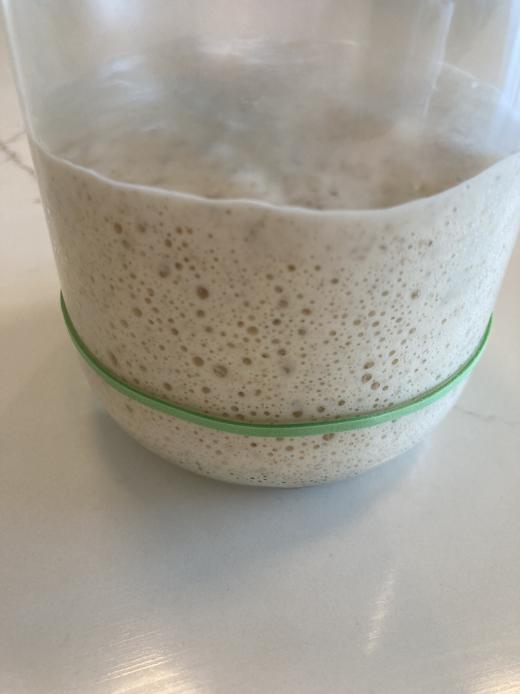
Once your starter is at peak, bubbly, and doubled in size you will make your dough. My starter takes about 5-6 hours. This is going to vary depending on the temperature of your home.
For your dough you can use a ceramic, Pyrex, glass, or stainless steel bowl.
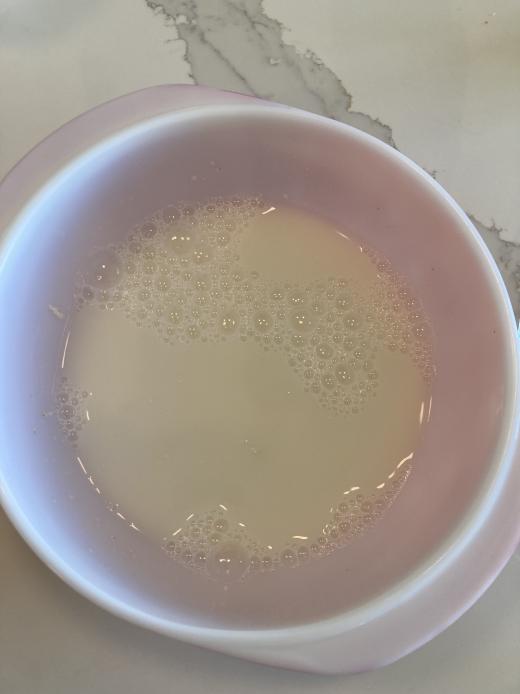
Measure and mix 65g starter and 300g filtered water in a mixing bowl. Make sure that the starter is well mixed, this step is crucial for an even crumb. Feed your leftover starter and put in fridge or counter for next use.
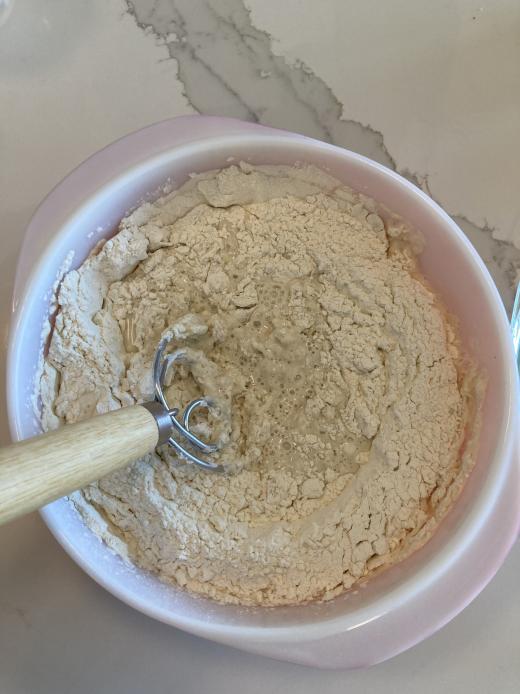
Measure 430g bread flour, add to bowl and mix. The dough will be sticky and shaggy.
Measure 10g salt and either pour over the top or wait 30 minutes and add to mixture. I prefer over the top, the salt will start sweating and makes it easier to mix into the dough.
Cover bowl with lid or damp towel and let sit for 30 minutes. This stage is called autolyse.
 |
 |
3. Autolyse
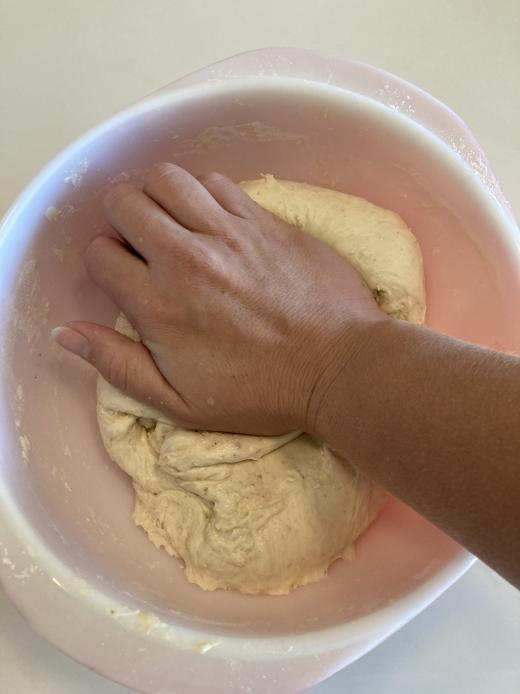
After 30 minutes, mix the salt into the dough. Don’t try to over knead it, just until you don’t feel salt on your fingers when you touch the dough.
At this time, get the temperature of your dough with a thermometer. It will be a little warmer since you have just worked it with your hands.
Cover dough and let sit for 30 mins.
4. Stretch and Fold
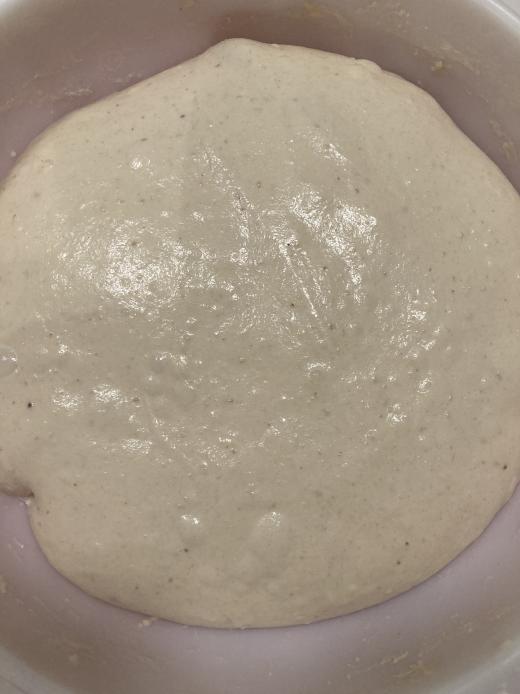
After 30 mins, your dough should be a little more relaxed and glossy looking.
Wet your hands, pinch and grab one side of the dough with both hands or one hand and pull up. Stretch until you feel some resistance and fold into the center of the dough. Rotate the bowl 90 degrees and repeat the stretch and fold. Continue until you have completed all four sides. You will feel the dough tighten as you go around.
Take the temperature of the dough, you should notice how the thermometor comes out cleaner than before.
Cover and let sit for 30 mins. I like to do this step two more times for optimal gluten development, but one will suffice. The more stretch and folds you do, the better crumb and final shape of your dough.
5. Bulk Fermentation
The is the main and most important step. Leave your dough covered on the counter for 7 hours after you start step 2. My dough temp is generally 73 degrees. A good rule of thumb is to add or remove 20 minutes from the bulk time per degree difference. So if your dough is reading 74 degrees at the stretch and fold, then only set it out for 6 hours and 40 minutes.
6. Shape
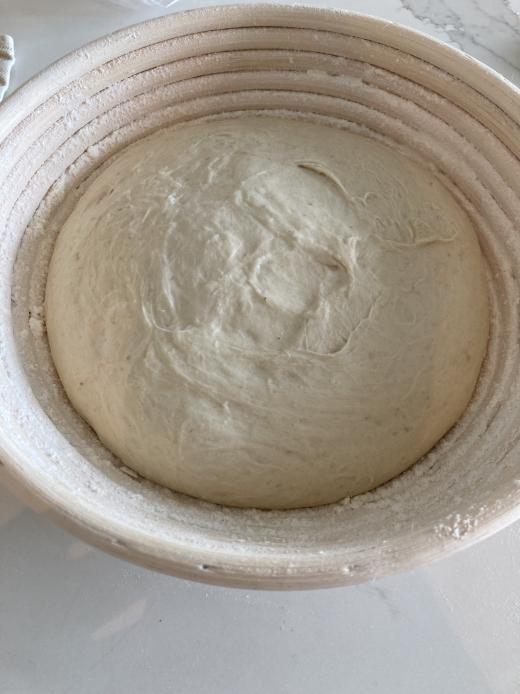
After your 7 hours is up, your dough should look smooth and have both large and small bubbles on the surface. It should have risen at least by 30%.
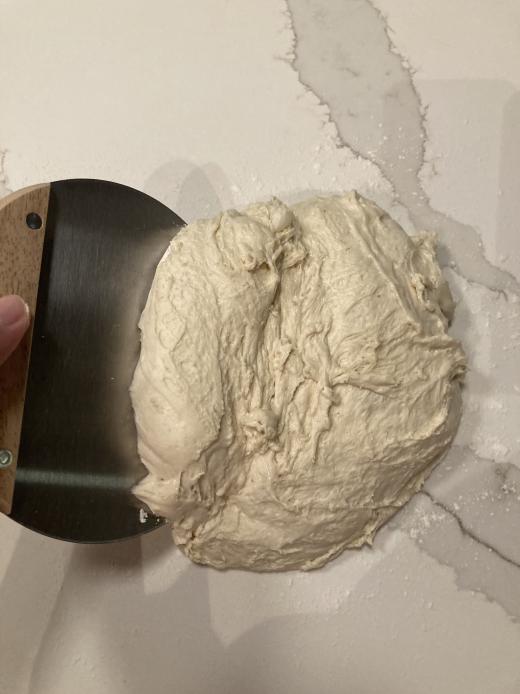
Lightly flour your counter and scrape your dough out of the bowl. Get a bench knife or use your hands to perform a letter fold.
Fold the left side into the center, then the right side into the center. Take the bottom and fold to the top and complete the fold by folding the top side to the bottom towards you.
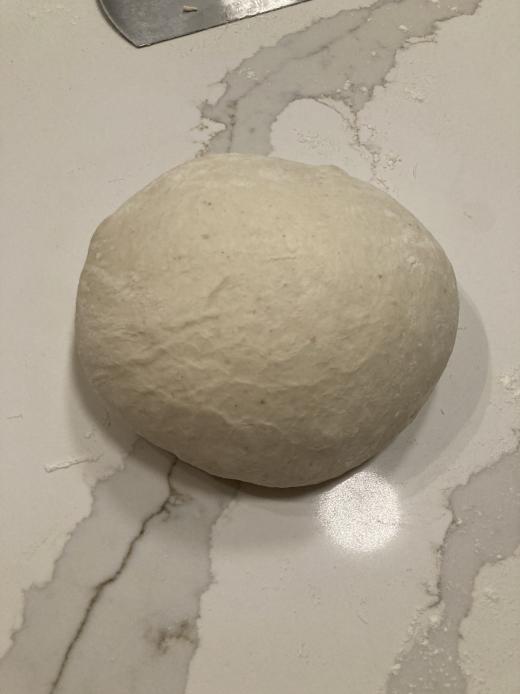
Use the bench knife or your hands to flip the dough. With the bench knife or the palm of your hand gently form the dough into a circle with smooth, sweeping movements around and slightly in making the dough tighten.
Let sit for 10 minutes.
 |
 |
7. Proof
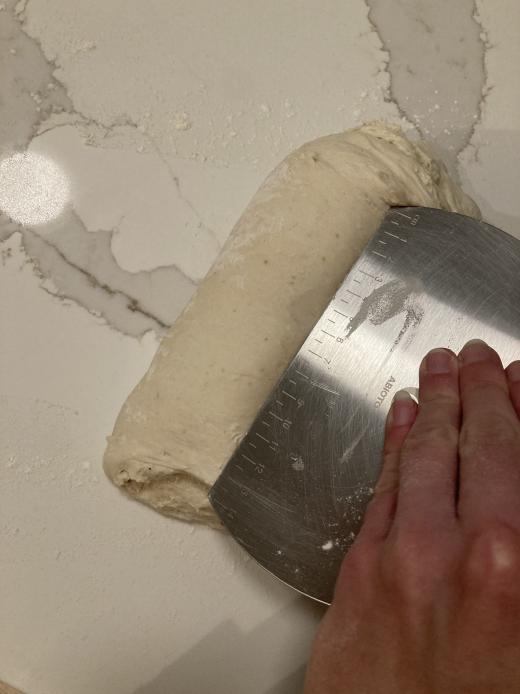
After 10 minutes, your dough should be more relaxed. Scrape any flour away from the counter next to the dough. You don’t want a lot of flour at this stage or the dough won’t stick together after shaping.
Use the bench knife or your hands to flip the dough onto the clear counter. Perform another letter fold and shape into a ball for a boule or shape into a bâtard for an oval shape. Keep in mind that for the bâtard you will need an oval banneton or oval bowl to keep this shape throughout the proof.
Get your banneton basket or bowl and add a liner. If you don’t have a liner use a cotton dish towel and lightly mist it with water. Sprinkle rice flour or all-purpose flour onto the liner. Make sure it is all up the sides, you don’t want your dough to stick.
Flip your shaped dough and gently place it into your bowl or banneton. Pinch together any parts of the dough where it is separating. This will make for a smooth bottom crust.
Cover with a plastic shower cap, ziploc bag, or damp towel and place in the fridge for 12-13 hours.
 |
 |
8. Bake
Preheat your oven to 500 degrees with the pot and lid in the oven. If you are using a challenger pan, preheat the oven for an hour, for a dutch oven only 30 minutes.
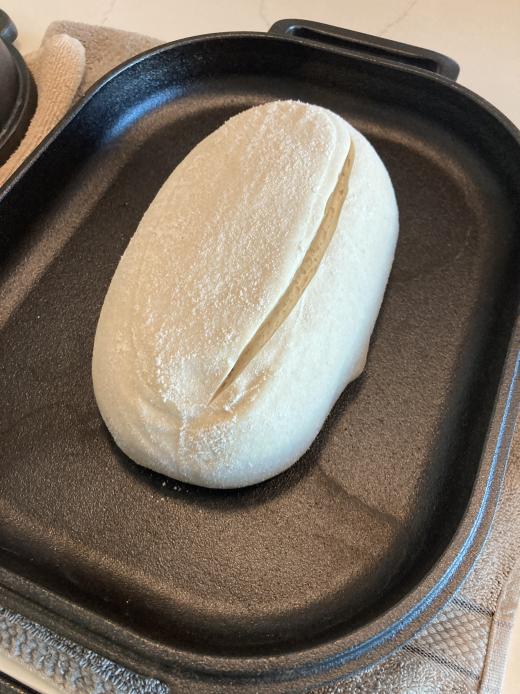
When your oven is preheated, you can score the dough and prepare for bake. Score the dough with a classic crescent, cross, or slash down the middle. You can use a knife or a bread lame to perform the score.
For a Dutch oven:
Place parchment paper on your counter and flip dough out of the bowl or banneton. Once scored, carry the dough into the preheated pot, optionally mist with water, and cover with lid in oven.
Keep oven at 500 degrees if you prefer a darker crust and bake covered for 20 minutes.
For Challenger Bread Pan:
Flip dough straight onto the preheated base pan or use parchment paper. Score dough, add two ice cubes if desired, cover with lid, and place in oven.
Turn oven down to 450 degrees and bake covered for 20 minutes.
After 20 minutes, remove the lid from the dutch oven and bake for 18-20 minutes until brown, not burnt. If you are using the Challenger pan, take the lid off and place the base onto the inverted lid and put back in oven. If you are using a Dutch oven, you might need to push baking time to 25-30 minutes for extra browning depending on your oven or keep the temp at 500 degrees.
 |
 |
- 1 boule
- 24 hours
- 38 minutes
Ingredients
Starter (Leaven)
- 10 g rye flour
- 70 g all-purpose flour
- 80 g starter
- 80 g filtered water
Dough
- 430 g bread flour
- 300 g filtered water (up to 323 g is acceptable)
- 65 g bubbly starter
- 10 g salt
- (Optional rice flour for dusting)
Tools
- Scale
- Glass jar with lid
- Mixing bowl
- Instant Read Kitchen Thermometer
- Bench knife, plastic scraper
- Shower cap, plastic bag, or damp dish towel
- Knife or bread lame
- Dutch oven & parchment paper or Challenger Bread Pan
- Banneton or bowl with dish towel
Directions
Starter
- Feed starter. Mix 10g rye flour, 80g all-purpose flour, 80g starter, 80g filtered water.
Dough
- Make dough. Measure and mix water and starter in a mixing bowl until fully combined. Add bread flour and mix. Dough will be shaggy. Add salt to top, cover with lid or damp towel and let sit for 30 minutes.
- Autolyse. Mix salt into dough and let sit for 30 minutes.
- Stretch and fold. Perform a stretch and fold and let sit covered for 30 minutes. Repeat step up to two more times.
- Bulk fermentation. Leave dough covered for ~7 hours after you start step 1.
- Shape. Flour countertop and scrape dough out of bowl. Perform a letter fold and let sit for 10 minutes.
- Proof. Shape into boule or bâtard and place into banneton basket or bowl with floured dish towel. Cover with plastic shower cap or damp towel, put in fridge, and let sit overnight for 12-13 hours.
- Preheat. Preheat oven to 500°F with pot and lid in oven for 30-1hr depending on pot.
- Score. Take dough out of fridge, flip onto parchment paper (for Dutch oven) or straight onto Challenger pan. Score dough. Add two ice cubes to Challenger pan or mist dough in Dutch oven.
- Bake. Turn oven down to 450°F and bake covered for 20 minutes. Remove lid and bake for another 18-20 minutes until brown. If you are using the Challenger pan, remove lid and place the base onto the inverted lid. If you are using a Dutch oven, you might need to push baking time to 25-30 minutes for extra browning depending on your oven or keep the temp at 500 degrees.
More delicious sourdough recipes
This is one of the many fantastic sourdough recipes available on this blog